AI generates the design, our pipeline traces it to clean SVG. Open the file in LightBurn and burn.
1.Sign in with Google
2.Describe your design (or attach a reference photo)
3.Pick a mode — Engrave Only is the default
4.Click Generate
5.Download All — get PNG + SVG bundled in a zip
The result page shows your generated design plus a primary "Download All (.zip)" button and per-file pill buttons (PNG, Engrave SVG, and — for Cut + Engrave mode — a Cut SVG).
Four common goals, four worked examples. Each shows the prompt, the input, and what you get back.
A. Create a sign with custom text
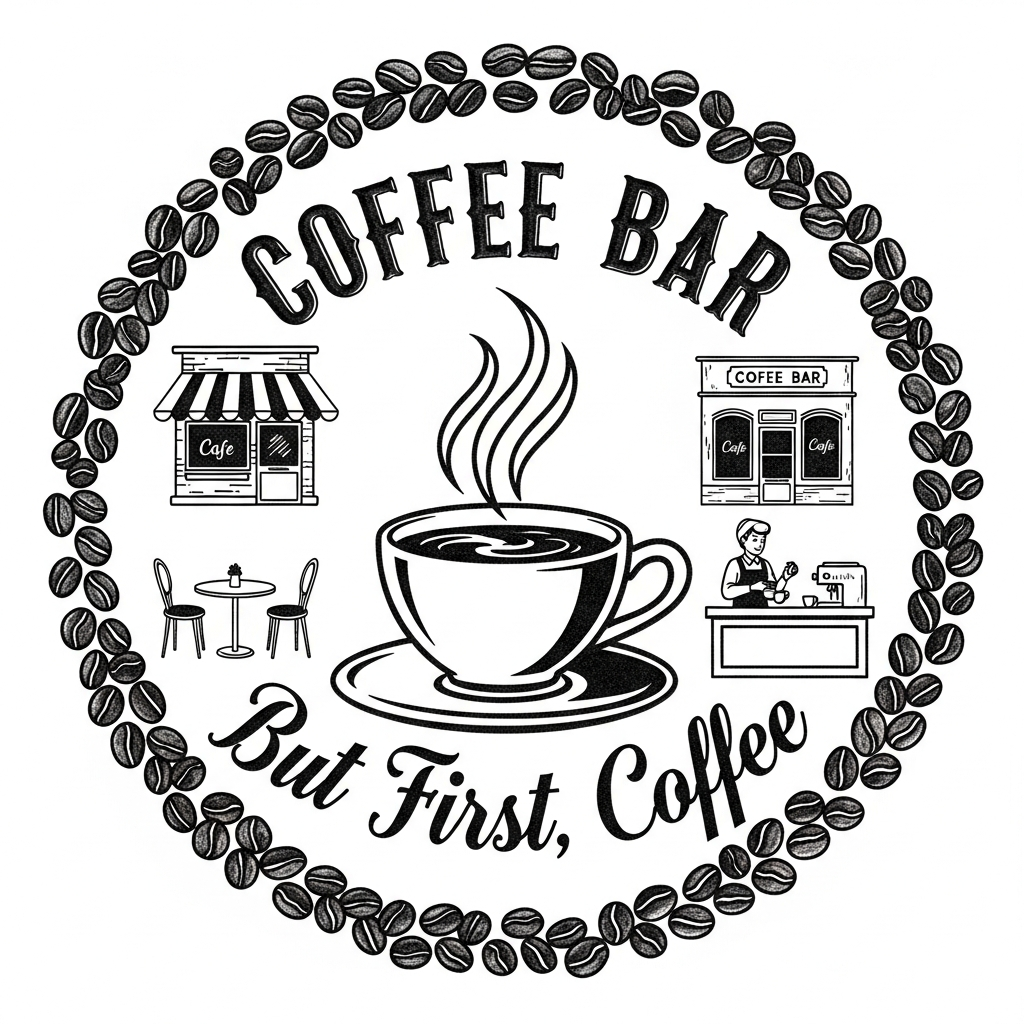
"I want a wooden sign for the kitchen that says 'Coffee Bar'." Tell the AI both the subject AND the text. Use quotes around the literal letters. Ask for "bold lettering" if you want chunky strokes.
Round coffee bar badge, "Coffee Bar" arched header text and "But First,
Coffee" curved bottom tagline, central coffee cup with steam rising,
decorative coffee bean border, vintage woodcut style
Generated PNGTraced engrave SVG
Avoid asking for color or shading words — your laser only sees black and white.
Mode: Engrave Only (default).
B. Engrave a family photo or portrait
Click the paperclip in the prompt box, attach a photo. Add a short text description ("woodcut portrait of a golden retriever") to guide the AI. The AI uses your photo as a multimodal reference and generates a stylized B&W version. The traced SVG comes from that stylized output, not the raw photo.
Woodcut portrait of [your subject], bold strong lines,
high contrast black and white, fine crosshatching for shadow
Example: AI-stylized illustration from a photo reference (output is a stylized recreation, not a literal photo trace)
Photos with busy backgrounds, multiple subjects, or low contrast often produce muddy engravings. Crop to the subject before uploading.
Mode: Engrave Only.
C. Cut out an ornament with engraved detail
"I want to cut a holiday ornament with custom text engraved on it." Every generation produces 4 files in the zip: the original PNG, an engrave SVG (interior detail), a cut SVG (outer silhouette as red stroke for laser cutting), and a combined SVG (both layers in one Inkscape file).
Round Christmas ornament, "Merry Christmas" arched header script and a
"Custom Name" banner across the middle, holly and pine border around
the edge, vintage woodcut engraving style
The cut SVG follows the outer silhouette only — your laser cuts around the design. Everything inside ends up in the engrave SVG. Open both in your slicer and assign Cut and Engrave layers respectively.
Prompt Tips
Write 1–2 focused sentences. The AI does best with concrete physical descriptions.
Do
Describe the subject in concrete physical terms.
Put text in quotes if your design has lettering.
Specify a style: "vintage woodcut", "etching", "bold silhouette".
Add "high contrast black and white" for crisp output.
Be specific about what should be inside vs outside the design.
Don't
Use color words ("blue bird, red roses") — laser is black and white only.
Ask for soft shading, gradients, or photorealistic textures.
Every successful generation produces the same four files in the zip. Open whichever you need in your slicer — your slicer is where you decide what gets cut vs. engraved.
yourname.png — the original AI-generated raster. Useful as a reference, or drop into your slicer for raster engrave modes.
yourname-engrave.svg — full image traced as a vector engrave layer. In LightBurn: set the layer to Fill mode for raster engrave, or Line mode for vector outlines only.
yourname-cut.svg — outer silhouette as a red stroke. LightBurn imports it onto the Cut layer. Use it when you want to cut the design out of the material.
yourname-combined.svg — both engrave and cut layers in one file with named Inkscape groups. Drag-and-drop import; both layers come in pre-named "Cut" / "Engrave".
LightBurn tip: files import with named layers via Inkscape metadata. Set each layer's mode (Cut / Fill / Image) on first import — LightBurn remembers the assignment for repeat imports of the same file shape.
For multi-layer stacked builds (back silhouette + front detail at different thresholds), use a parametric tool or manually edit layers in LightBurn / Inkscape — AI text-to-image isn't reliable for clean layer separation.
Credits & Pricing
Pay-as-you-go. 1 credit per generation (covers the AI image, the auto-trace, and the SVG output). Credits don't expire and there's no subscription.
Why is my engraving coming out too dark or too light?+
The engrave SVG vectorizes any pixel below the auto-detected brightness threshold. If your design has a lot of mid-tones, the threshold may not be ideal. Re-generate with a clearer "high contrast black and white" in the prompt, or open the SVG in Inkscape and adjust path fill density.
Can I edit the SVG after I download it?+
Yes. The SVG opens in any vector editor (Inkscape, Illustrator, Affinity Designer). Layers come pre-named "Cut" and "Engrave" via Inkscape metadata.
Will this work in LightBurn / RDWorks / xTool?+
Yes for any slicer that imports standard SVG with stroke colors. LightBurn auto-routes red strokes to a cut layer and black fills to an engrave layer.
What happens if generation fails?+
We refund your credit automatically on AI generation failure. If the AI succeeds but tracing fails, you'll get the PNG only and your credit isn't refunded — you got the design.
Can I use generated files commercially?+
Yes — generated designs are yours to use commercially, including sales of finished pieces. Don't prompt for trademarked logos or copyrighted characters.
I want a feature you don't have. Where do I request it?+
Email [email protected] or open an issue at github.com/Pardesco/laser-burn-ai.