Laser Cut Box Generator
Make a finger-joint box that fits together first time. Set the size, material and lid, add dividers if you want them, and download a free SVG or DXF in real millimetres. No signup, and it all runs in your browser. Cutting several boxes from one sheet? Nest the panels onto your material and see what you save.
Dimensions
Width, depth, and height measure the inside of the box. Walls add one material thickness per side.
Lid Type
Dividers
Personalize
Engrave a name, monogram, message or your own logo on any face. Preview it here for free; the engraved download is $9 one-time (early price). The plain box download stays free.
The SVG imports at true size in LightBurn, xTool Creative Space and Glowforge, and every line is a red cut. Panel names in the preview are for reference only; the downloads contain clean cut paths. The DXF has the same geometry on a CUT layer.
Fits on 227mm x 235mm sheet (8.9" x 9.3")
How to make a laser cut box
- Measure your material and enter the real thickness. It sets the finger depth.
- Set the size. Use inside dimensions when something has to fit in the box, outside when the box has to fit somewhere.
- Choose a lid and any dividers, then turn on kerf compensation for a press fit.
- Download and cut. Cut one corner joint first if you are unsure of the kerf.
How the finger joints fit together
The bottom has fingers on every edge. The side walls have fingers on their vertical edges and slots along the bottom. The front and back have slots on every edge. So each joint is one set of fingers meeting one matching set of slots. Finger counts are always odd, so the panels fit whichever way round you pick them up. The bottom panel also fills the small cube at each corner, so there are no holes at the corners.
Lid types
- No lid: Open top with a flat rim. Trays, planters, desk organisers.
- Friction-fit lid: A flat cap plus a slightly smaller plate you glue underneath. The plate drops into the opening and holds the lid by friction.
- Sealed top: A sixth finger-jointed panel. Glue it shut and saw the box open for a lid that matches perfectly, or use it for a closed puzzle box.
- Living-hinge lid: The back wall, a flexible hinge and the lid are one piece. The hinge wraps the top-back edge, so the lid sits flush on the rim.
- Sliding lid: The lid slides in a slot cut through both side walls, over a shortened front wall. No glue, and it lifts right out.
Want a flexible panel for something other than a lid, like a curved box side or a book cover? The free living hinge generator makes the same hinge patterns at any size.
Materials
| Material | Typical kerf | Notes |
|---|---|---|
| Birch plywood 3 mm | 0.1 to 0.2 mm | The standard. Strong fingers, and the best choice for a living-hinge lid. |
| MDF 3 mm | 0.1 to 0.2 mm | Flat and cheap, with clean edges. Glue the joints; hinge bridges crumble with repeated flexing. |
| Acrylic 3 mm | 0.1 to 0.15 mm | Glossy box, but press fits can crack it. Use a little less kerf and acrylic cement. The hinge lid needs a big radius. |
| Plywood 6 mm | 0.15 to 0.25 mm | Sturdy crates and planters. Diode lasers may need several passes. |
Cutting in LightBurn, xTool or Glowforge
- Import at true size and check one panel's width before cutting. Don't scale the file, or the fingers stop matching your material.
- Cut inner shapes first. Turn it on in LightBurn's optimization settings so the hinge slits are cut before the lid piece drops free.
- Test a corner. Two small panels tell you whether the kerf is right before you commit a full sheet.
FAQ
Is the box generator free?
Yes. Every lid type, dividers, kerf compensation, and both SVG and DXF downloads are free with no account. The box is generated in your browser.
Are the dimensions inside or outside?
Either. Pick Inside to set the space inside the box, which is what you want when something has to fit in it. Pick Outside to set the finished size, lid included. The tool converts between them using your material thickness.
What kerf compensation should I use?
Start with 0.15 mm for a CO2 laser and 0.08 mm for a diode, then cut a test corner. The generator draws every part half a kerf oversize, so after the beam burns away the kerf, the fingers come out a snug press fit. If the joints are too tight to close, lower it. If they rattle, raise it.
What material thickness should I enter?
Measure your sheet with calipers and enter the real number. "3 mm" plywood is often 2.8 to 3.2 mm, and 1/8" is 3.175 mm. Finger depth equals the thickness you enter, so a wrong value makes fingers stick out or sit short of the surface.
How does the living hinge lid work?
Rows of short offset cuts let the plywood bend. The hinge wraps the top-back edge of the box as a quarter circle, about 5 times the material thickness in radius for plywood, so the lid lands flat on the rim. The cut band is sized to exactly that bend. It uses the same patterns as our living hinge generator.
How do the dividers work?
Dividers are a free-standing eggcrate grid. Each crossing gets matching half-lap slots, so the grid slots together without glue and lifts out for cleaning. They are cut slightly short so every lid type still closes.
Does it work with LightBurn, xTool, Glowforge and OMTech?
Yes. The SVG is sized in millimetres, so it imports at true size in LightBurn, xTool Creative Space and Glowforge. Every line is a red cut line. The DXF is R12 with the same geometry on a CUT layer for RDWorks, which OMTech lasers ship with, and for CAD software.
More Tools
Living Hinge Generator
Living hinge patterns for plywood, MDF and acrylic. Free SVG/DXF.
Free · no signup
 Free
FreeSheet Nesting
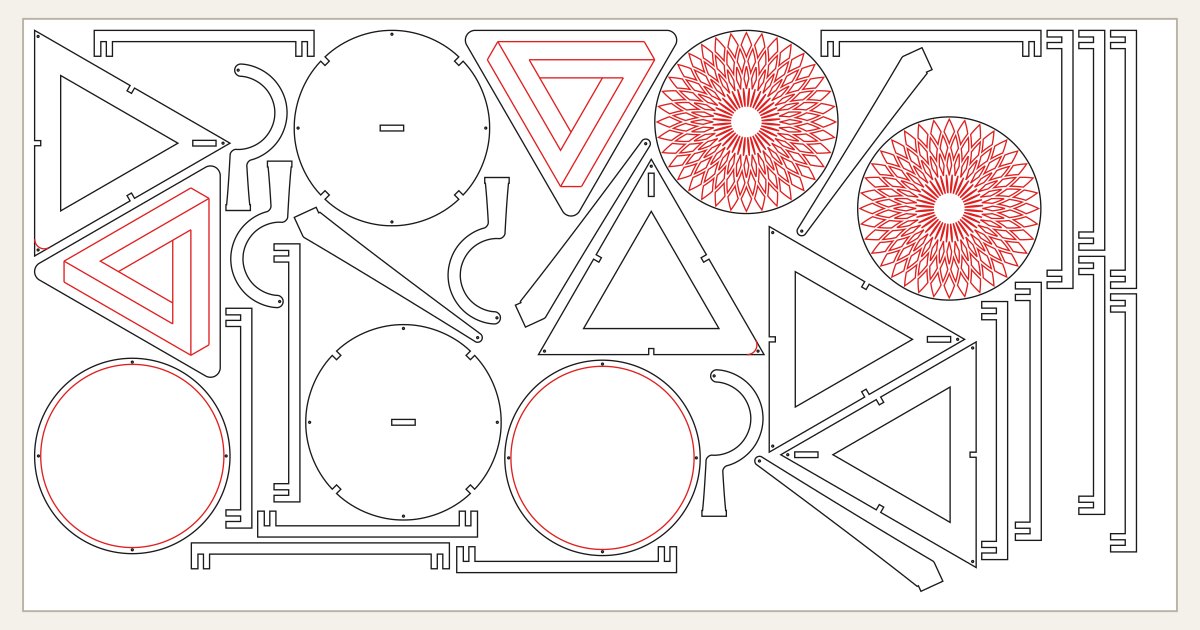
True-shape nest SVG/DXF parts onto your sheets, free.
Free · no signup
 Pro
ProParametric Wall Art
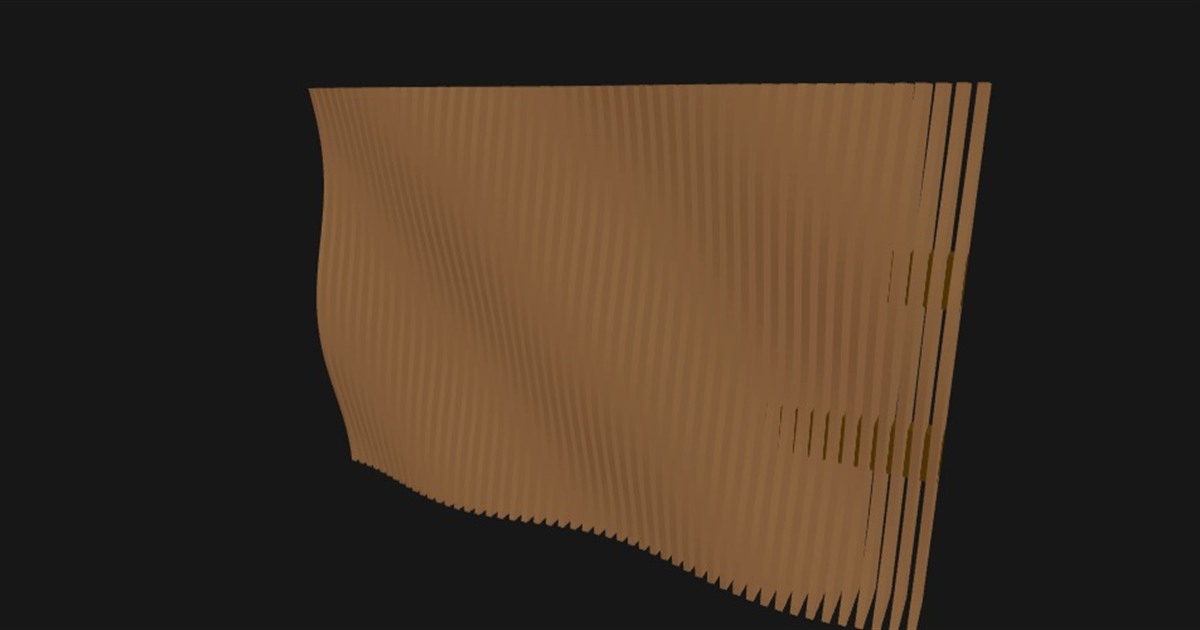
Design custom 3D parametric wall art from patterns or images.
$29 one-time · design free