Layered Slicer
Turn a 3D model into a stack of laser-cut layers. Drop in an STL, OBJ, GLB, PLY or 3MF file and it comes back as nested cut sheets with two dowel holes through the stack and every layer numbered. Nothing is uploaded — the slicing happens in your browser. Mixing the layers with other jobs? True-shape nest everything onto one sheet.
Drop a 3D model, or click to choose
STL · OBJ · GLB · PLY · 3MF — the formats Meshy, Tripo and Hunyuan3D export. Nothing is uploaded; it is sliced in your browser.
Your model, cuttable on the machine you already own.
From AI model to finished sculpture
A torso generated in Tripo, sliced here into 3mm layers and stacked into a 150mm sculpture — 22 parts, two dowel holes running the full height of the stack, every layer numbered. Both photographs are the same camera and the same scale, so the terracing is the only thing that changed.
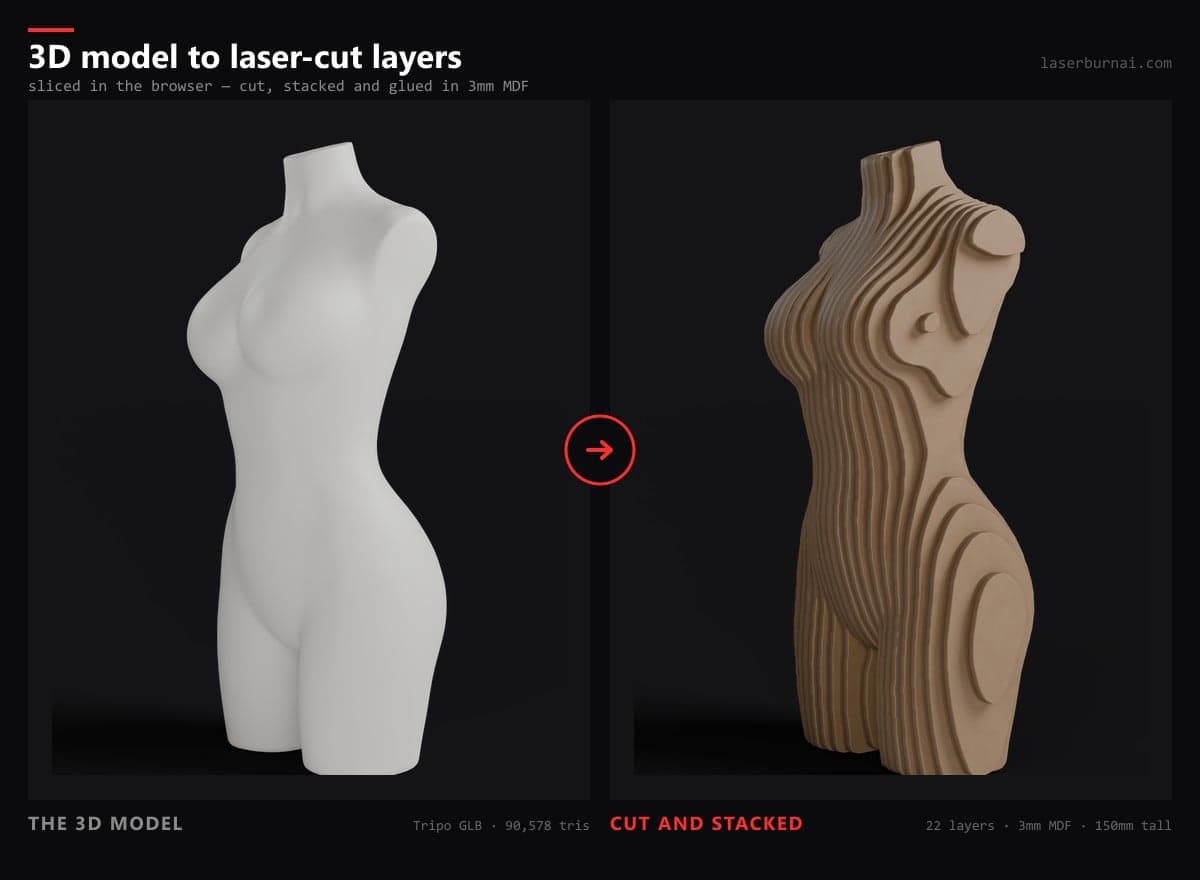
Your AI model, cuttable on the machine you already own
Meshy, Tripo, Hunyuan3D and Trellis made 3D models trivial to produce, and every guide that follows assumes you own a 3D printer. If what you own is a laser cutter, the entire wave passed you by. Slicing the model into constant-thickness layers and stacking them is how you make it real on the machine you have — in plywood, acrylic or card, at whatever size your bed allows.
The tool that used to do this, Autodesk's Slicer for Fusion 360 (formerly 123D Make), was discontinued in 2020. Guides across the maker web still point at software that no longer exists.
Why it copes with AI-generated meshes
Generated meshes are dirty: non-manifold edges, holes, flipped normals, surfaces modelled twice. Slicers that intersect the geometry with a plane need a watertight solid and fail loudly on all of it, which is why real slicers ship extensive mesh repair — and still choke on the bad ones.
This one never intersects anything. Each cross-section is rendered on your GPU and the material is worked out by counting how many surfaces a ray crosses on its way out. A hole in the model is just a hole in the picture. That one decision is what lets a model straight out of a text prompt come back as a cut file.
Registration, and the pieces that fall off
Sliced layers with no alignment features are a pile of near-identical pancakes. Every file here gets two dowel holes running through the stack — never one, because a stack pinned at a single point still spins — placed automatically wherever there is material on every layer, and undersized by one kerf so the dowel is a push fit. Each layer is engraved with its number as real cut paths, not a text element your laser software may or may not resolve.
Slice a head horizontally and some layers contain a disconnected blob — the tip of a nose, a lock of hair — that is geometrically correct and physically a piece with nothing to glue it to. The tool checks every piece against the layers above and below and tells you how many have no contact, showing them amber in the single-layer view. Changing the slice direction usually fixes it.
Getting a good result
- Start with a bold, roughly convex shape. An animal head, a helmet, a fruit. Faces are the hardest possible case — people read them so precisely that a twenty-layer face looks wrong where a twenty-layer fox does not.
- Watch the layer count. 3mm ply through a 200mm model is about 66 layers, which is a lot of cutting and a lot of material. Thicker stock reads as more abstract and cuts far faster.
- Try all three directions. Slicing across the silhouette keeps the outline you recognise; slicing along it gives a topographic, contour-map look. They are different objects, and the preview shows you which you are making.
- Dry-fit before glue. Thread every layer onto the dowels first. A stack glued one layer at a time drifts, and the drift does not come back out.