Image to ASCII Art
Turn any photo into ASCII art you can hang on a wall. Shape the tone, choose the characters or fill the image with a name, then take it out as text, a 300-DPI print, or SVG and DXF letter outlines sized in millimetres for your laser. Everything runs in your browser.
Drop, paste, or click to upload an image
JPG, PNG or WebP. Your image never leaves the browser.
Preview appears here after you upload an image
Preview on
Materials are a preview. Exports stay clean: SVG/DXF are pure vectors, and the PNG uses plain white.
Start from a look
Characters
Tone
Shape
Circle and heart fit the shorter side. For coasters and ornaments, turn on the cut line and cut the piece out in the same job.
Make it real
The SVG holds real letter outlines sized in millimetres, so no font is needed. It opens in LightBurn, xTool Creative Space, Glowforge and LaserGRBL. In LightBurn, set the engrave layer to Fill; the cut line comes in on its own red layer.
Portraits, pets, skulls and anime
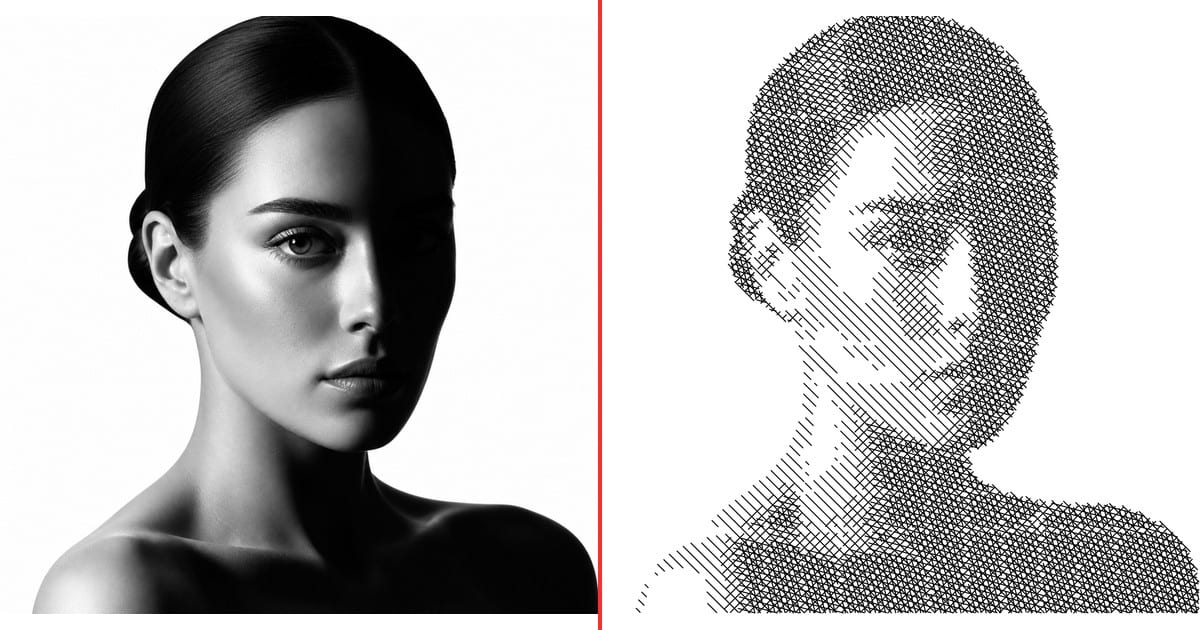
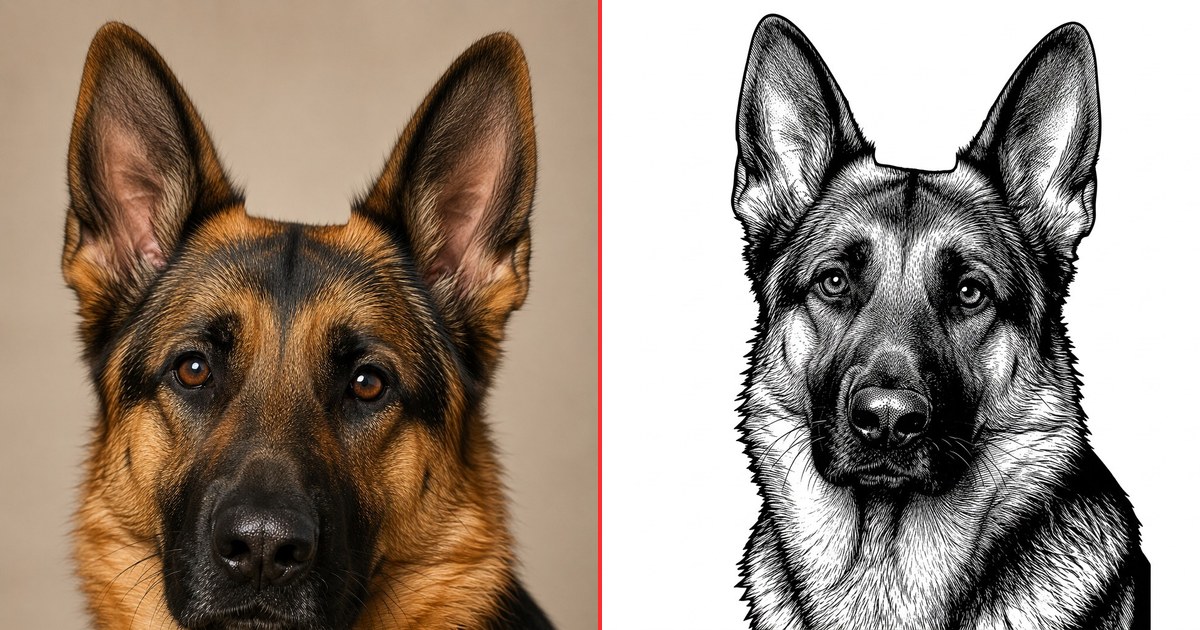
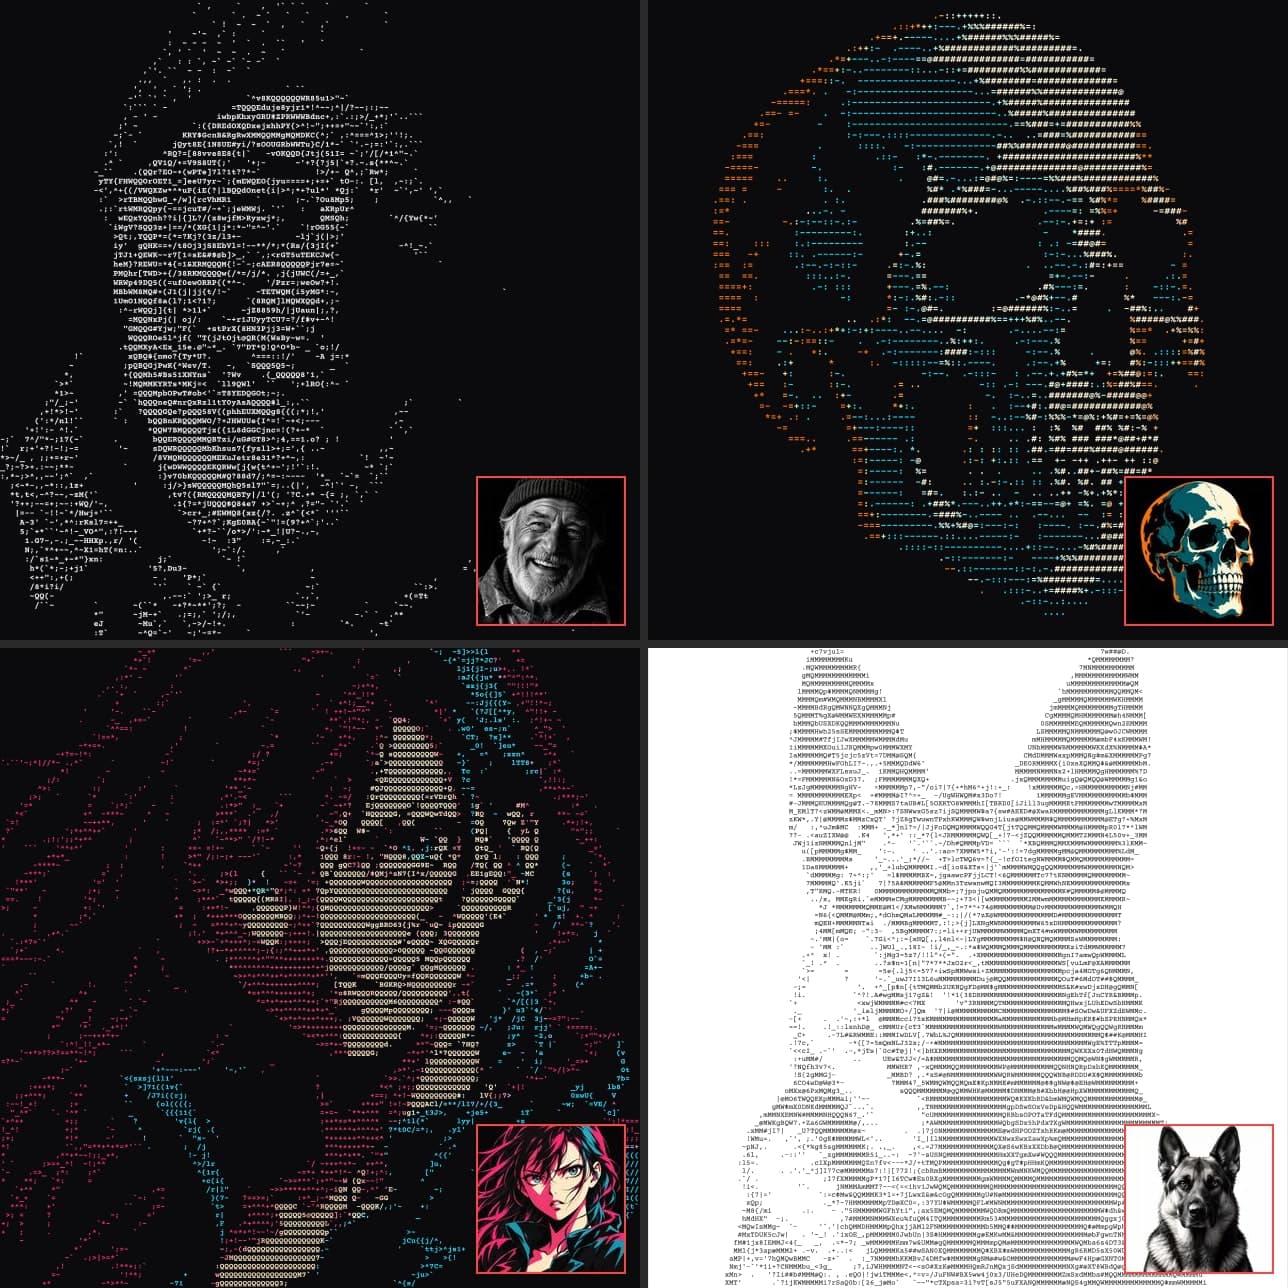
The four samples in the tool, each in the setup it opens with; the source image sits in the corner. Dark-backdrop images turn into light characters on black, and Color paints each character in its full hue. Every mark is a closed letter outline, so the same file prints sharp and engraves as vectors.
How to convert an image to ASCII art
- Upload a photo. High-contrast images with a plain background give the cleanest result. Try a sample if you don't have one ready.
- Set columns and tone. Columns control detail. Contrast, gamma and edge emphasis decide how faces and edges read. Background cutoff clears busy backdrops.
- Export. Copy the text for chat or code, download a PNG to print, or download SVG/DXF to engrave.
Why vector ASCII art?
Most ASCII art generators stop at plain text or a screenshot-sized PNG. That works on screen but falls apart on a large print, and a laser can't use it without tracing. Here each character is exported as its actual outline in real millimetres, so a 600 mm engraving keeps crisp letterforms instead of blurry pixels.
Scale letters by tone turns the grid into halftone lettering: characters shrink in the highlights and grow in the shadows, the way a newspaper photo uses dots. It engraves fast and reads beautifully from across a room.
Choosing a character set
Every character is ranked by the ink its outline actually covers, measured from the typeface rather than guessed. Classic is the familiar ten-step ramp. Detailed uses all 95 printable characters for the smoothest gradients. Minimal gives a bold, graphic look. Letters and Binary are for texture you want people to notice up close. Custom takes any characters you type and sorts them for you. Turn on Dither when few characters have to cover a smooth gradient.
FAQ
How do I convert an image to ASCII art?
Upload a JPG, PNG or WebP (or paste one from the clipboard), pick a character set, and set the number of columns. The preview updates as you move the sliders. Copy the result as text, or download it as a PNG, SVG or DXF. Everything runs in your browser; the image is never uploaded.
Can I convert a PNG to ASCII art?
Yes. PNG, JPG and WebP all work. Transparent areas of a PNG are treated as white, so a cut-out subject on a transparent background gives a clean ASCII silhouette. Raise the background cutoff to blank out light backgrounds on photos.
What makes this different from other ASCII art generators?
The characters are real letter outlines, not a font rendered to pixels. That means the SVG and DXF exports are true vectors sized in millimetres. They import straight into LightBurn, xTool Creative Space or Glowforge as engravable shapes and print sharp at any size. Characters are also ranked by how much ink each one actually covers, so tone maps evenly instead of following an arbitrary character order.
How many columns should I use?
It depends on the physical size. The tool shows the character cell size in millimetres. Below about 1.5 mm tall the letters stop reading and blend into tone, which suits portraits viewed from a distance. From 3 mm up every letter is legible. Enter the smallest text your laser or printer can hold and press Fit columns to get the densest grid that still engraves cleanly.
Can I make ASCII art in color?
Yes. Turn on Color and each character is painted in the hue of the image area behind it, at full brightness so the colors stay vivid. Flat, limited palettes (two to four colors) convert best. Color applies to the PNG and SVG exports; plain text and DXF are single-color by nature.
Can I fill a portrait with a name or a phrase?
Yes. Switch to Word fill and type a name, a date, or a line of a poem. The phrase threads through the image in reading order, and tone comes from letter size and the background cutoff. It makes a popular engraved gift.
Can I make a round coaster or a heart-shaped ornament?
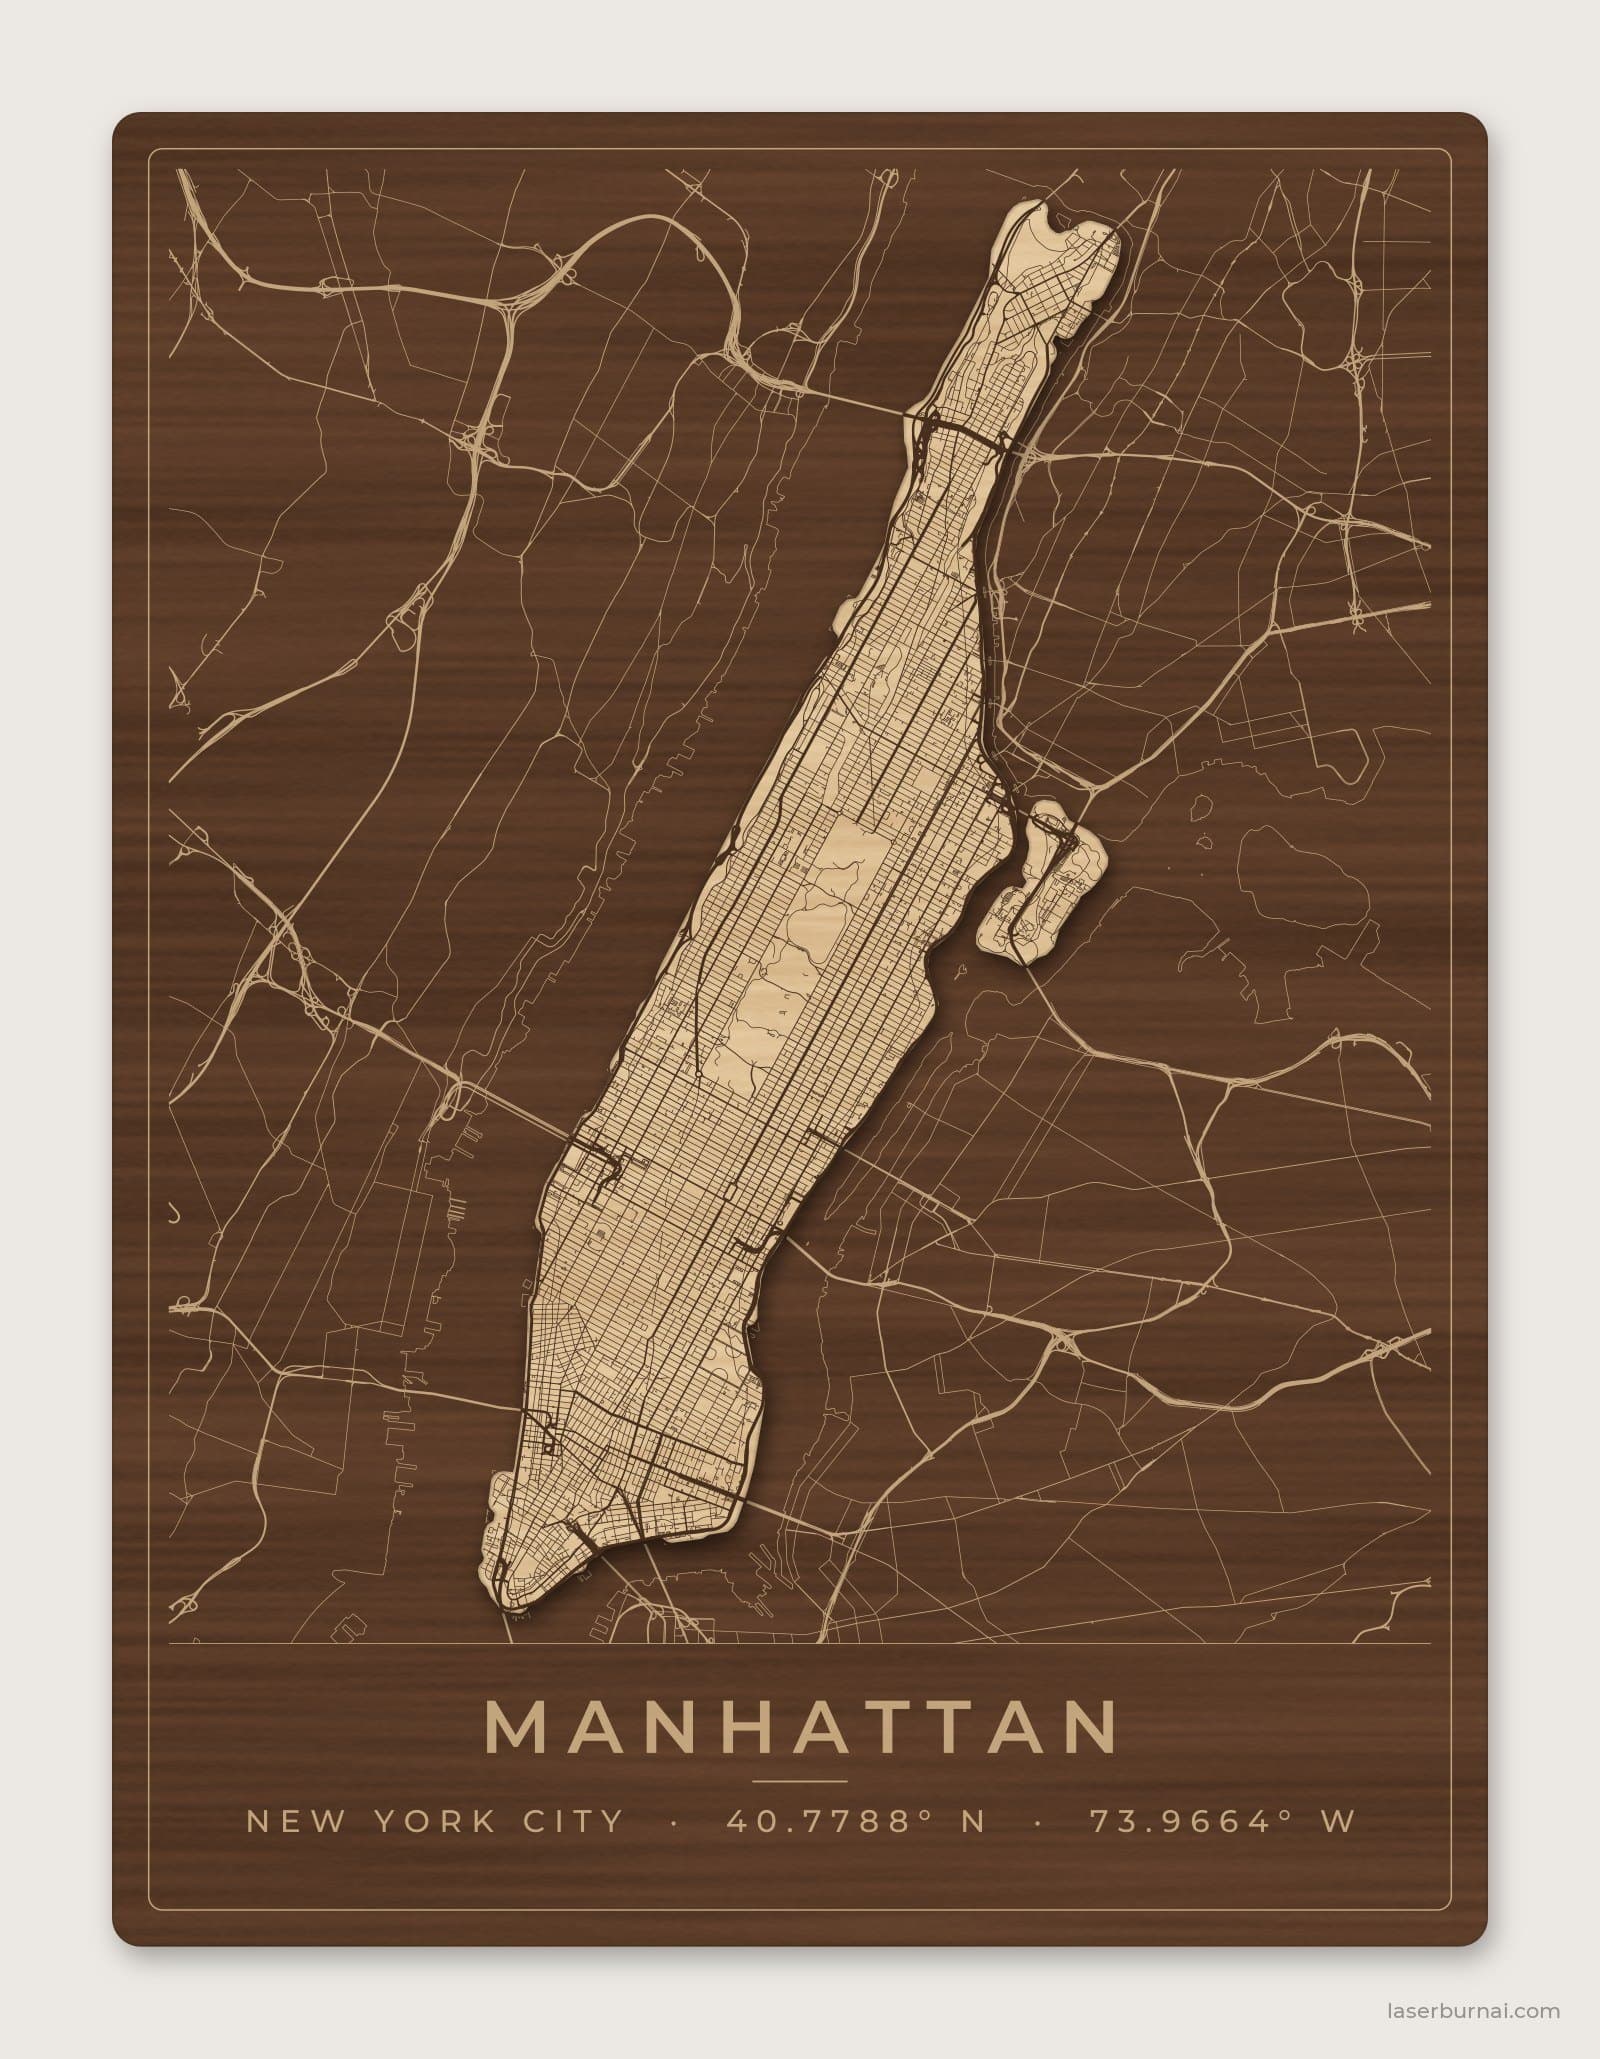
Yes. Pick Circle, Oval, Rounded or Heart under Shape and the art is masked to that outline. Add an engraved border, and turn on the cut line to cut the piece out in the same job: it exports on its own red CUT layer. Hover the preview to see the letters at their actual engraved size, and use Preview on to check the look on birch, walnut, slate, black acrylic, anodized aluminum or leather first.
How do I engrave the SVG in LightBurn?
Import the SVG or DXF, check the size matches the width you set, and put the layer on Fill mode. The file holds closed letter outlines, so no font needs to be installed. For small characters, use a fine lens or a higher lines-per-inch setting so the counters of letters like e and a stay open.